For this project, I created a low cost controller board that turns a regular 4 pin RGB CPU fan into a stroboscope that can be controlled as if it were an ARGB LED light strip!
A stroboscope is an instrument used to make a cyclically moving object appear to be slow-moving, or stationary. To achieve the effect, a stroboscope quickly pulses a light to match the period of cyclically moving object. If the pulsing is fast enough, the human eye does not perceive the pulsing, but instead only see’s the object in the positions it’s illuminated.
ARGB stands for “Addressable Red Green Blue”. It’s a common control signal used to address RGB LED strips and other lighted devices.
The First Revision
The first revision used a PIC32MM microcontroller and was single channel. The thought was to place the device in-line between the motherboard and CPU fan.
For a 25MHz, the PIC32MM did an impressive job.
The Magic
The magic is in the firmware. To get a good visual effect on a micro-controller that costs less than 2$, you have to fully utilize the hardware peripherals that are available.
The CPU is not fast enough to control the pins directly, instead a DMA(Direct memory access) controller is used to clock bytes of data directly from RAM to the GPIO pins. The rate at which the DMA transfers bytes can be triggered with a timer.
The Input Capture and Compare peripheral can be used to read the speed of the fans using the tachometer pins. The rate of the pulses must be carefully synced with the speed of the fans rotation.
Each byte in the RAM buffer corresponds to a single point in the fans rotation. Complex patterns can be formed by correctly loading the RAM buffer with data.
The Second Revision
Unfortunately when it came time to read the ARGB signal, the PIC32MM was too slow. This created the need for a new revision using a new microcontroller.
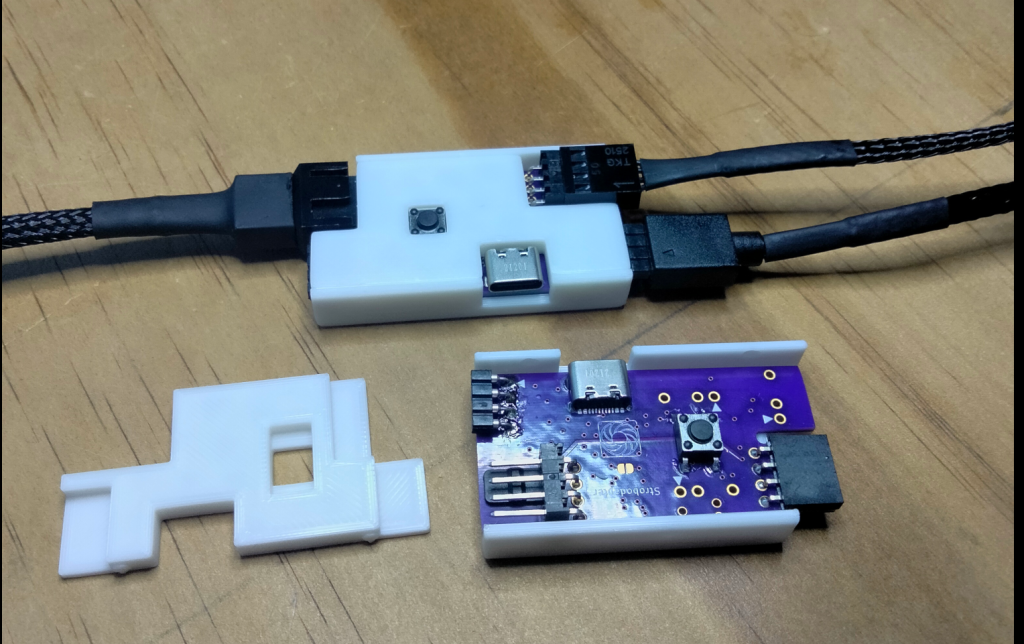
I selected the STM32H503 because of it’s low cost and good performance.
Since most computers have multiple fans, I decided to make the controller 4 channel to reduce the overall cost to control all the fans in a typical PC. This also simplified wiring ARGB since it could be share across channels.
The overall component BOM for the board came out to 5-7$ depending on quantities.
The Simplicity
I originally intended for the stroboscope to be controlled over USB, and there is a working command set to control it, but offloading the pattern generation to 3rd party ARGB controllers dramatically simplifies the project by eliminating the need for complex software!
There’s a number of ARGB controller options out there, and they are extremely easy to set up with the stroboscope since the stroboscope simply acts as though it’s a standard ARGB LED strip wrapping around the perimeter of the fan.
Using 3rd party ARGB software enables cool features like controlling the pattern to match audio!
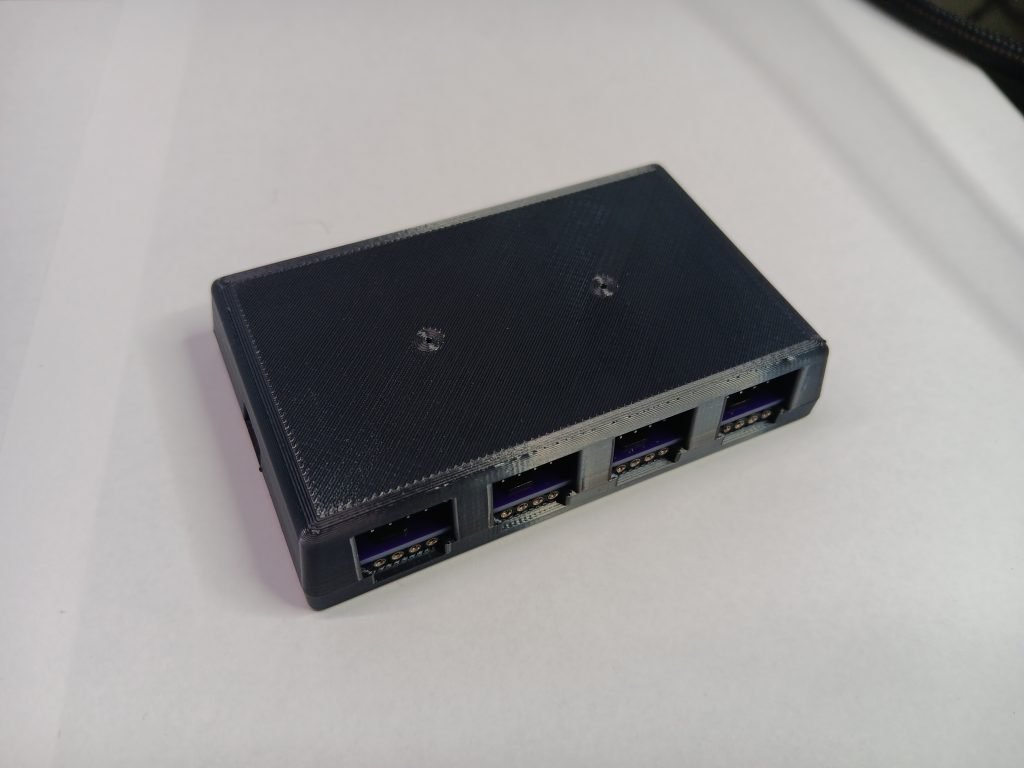
The Fit and Finish
After making a 3d printed enclosure and cleaning up the wiring, I am pleased with how it turned out.
Installation is simple. A 4pin fan extender plugs into the motherboard and into the PulsarRGB device. The fans RGB cable and 4pin control cables plug into the other side of the PulsarRGB device. A USB or ARGB cable can be plugged in to control the patterns.